Bespoke Lighting

At KPA Electrical, we believe lighting defines a space. From concept to completion, our in-house team collaborates with clients, consultants, and design professionals to deliver tailor-made lighting schemes that enhance function, mood, and aesthetics. This makes the space perfect for its intended use.

Our Lighting Design Approach

  • Bespoke Illuminance Analysis, We assess tasks, sightlines, and occupancy patterns to specify ideal light levels.
  • Integrated Design Collaboration, Close coordination with architects and interior designers ensures fixtures complement structural and decorative elements.
  • Energy-Efficient Solutions, LED, smart controls, and daylight harvesting strategies minimise consumption while optimizing comfort.
  • Layered Lighting Strategies, Combining ambient, task, and accent lighting for dynamic, flexible environments.
  • Precision Installation & Commissioning, Expert cable routing, dimming setups, and post install tuning guarantee consistent performance.

KPA Lighting Design Development Process

1. Project Brief & Space Analysis:

Gather the client’s objectives, review architectural plans, and assess room dimensions, ceiling heights, surface finishes, and natural light sources.

This establishes the framework for lighting requirements and highlights any constraints or opportunities for daylight integration.

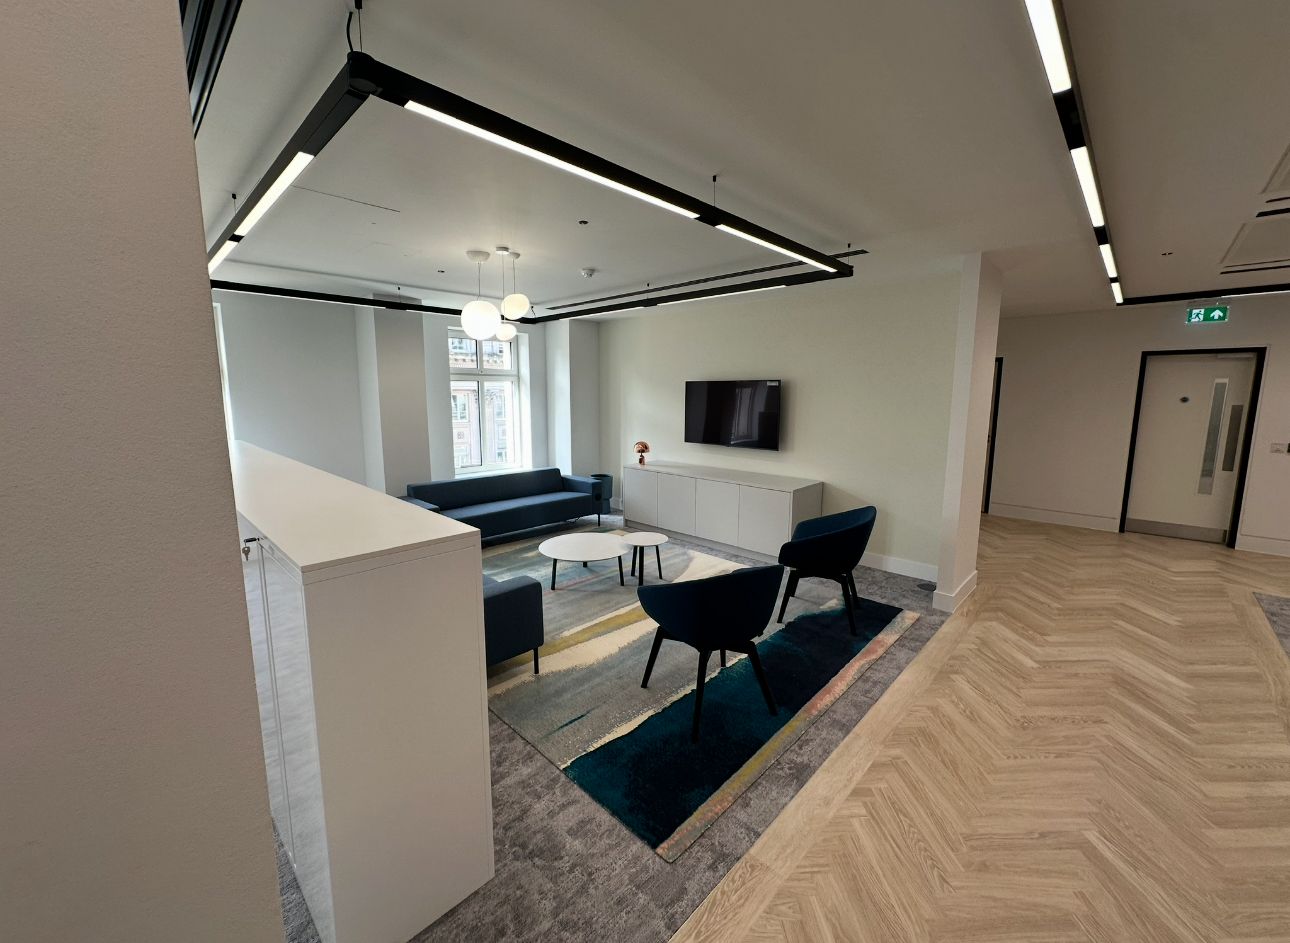
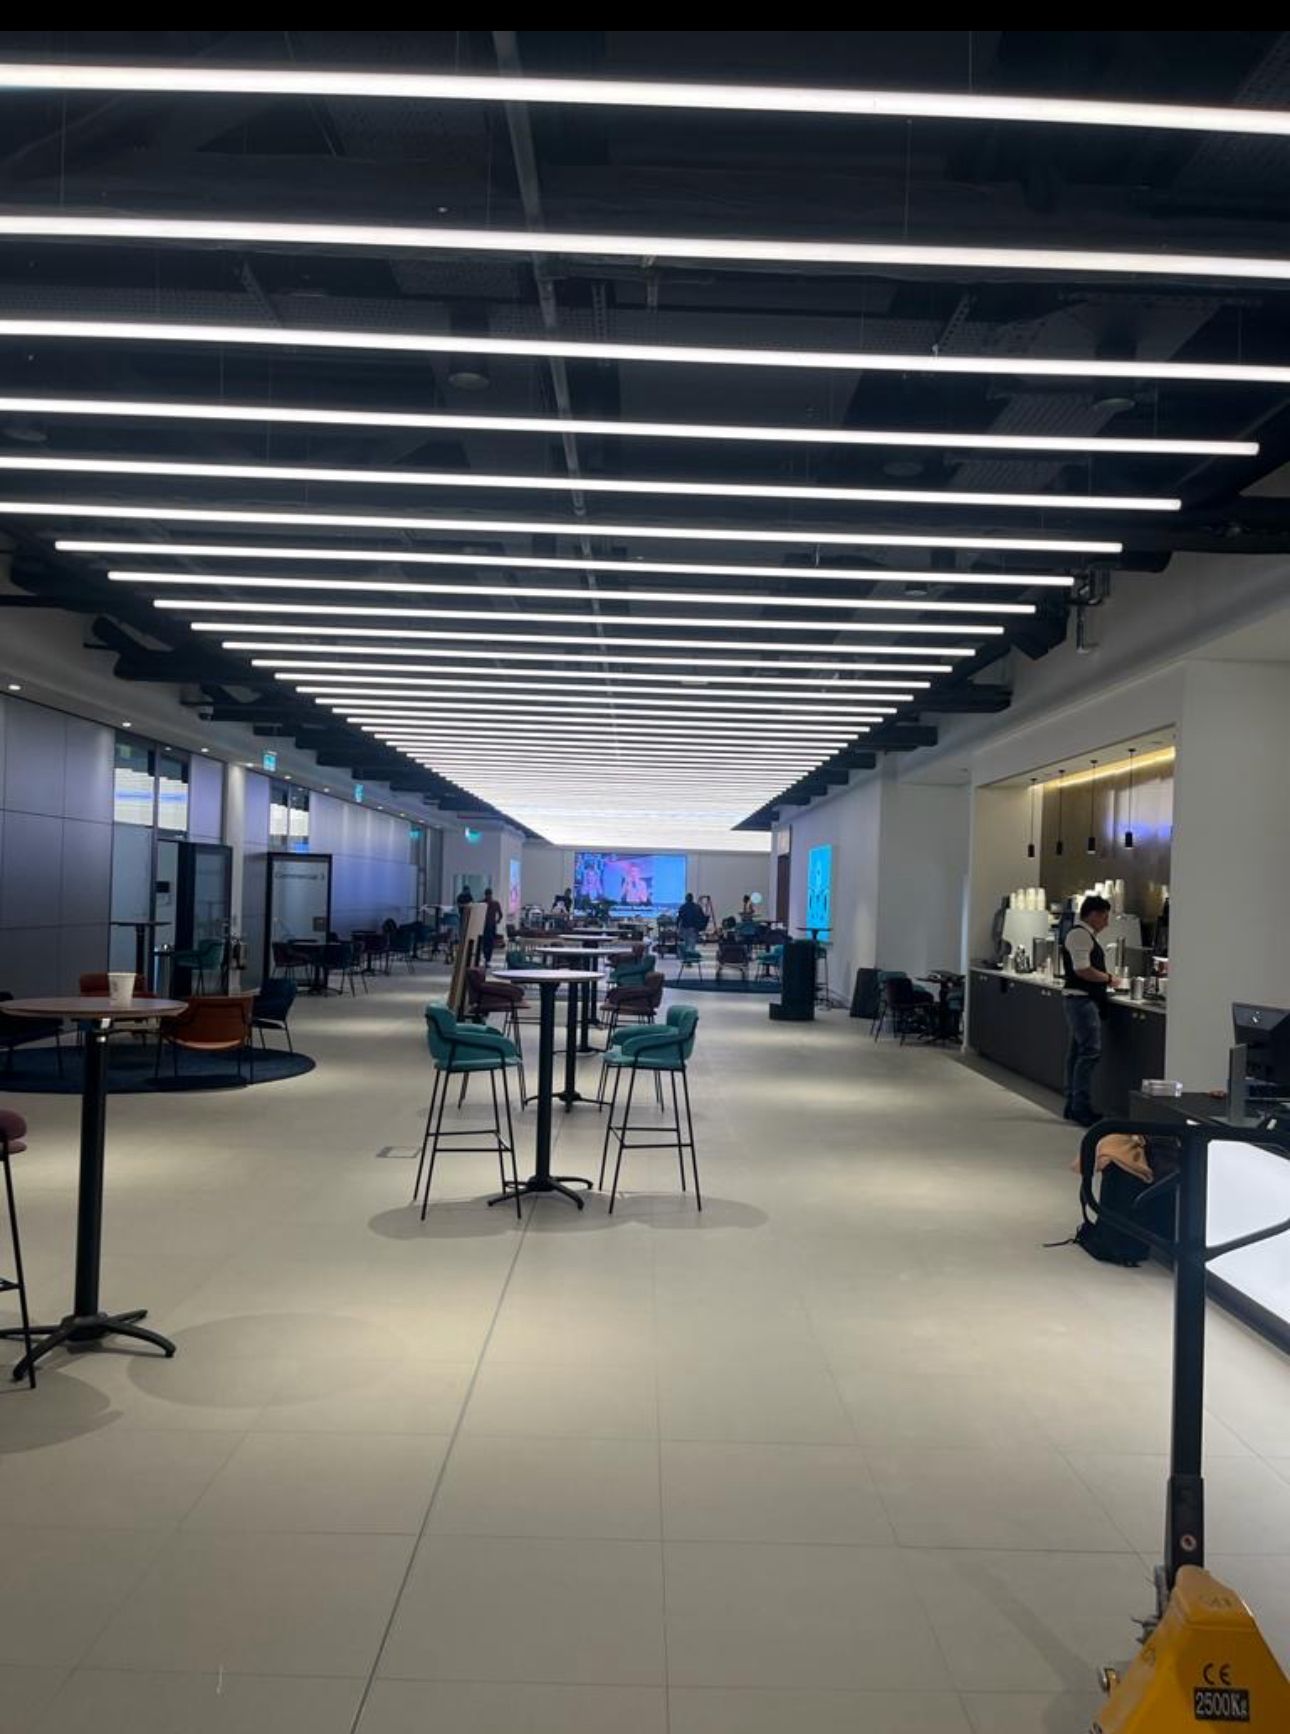
2. Define Functional Zones & Intended Use

Divide the space into zones based on activities workstations, meeting areas, circulation, display areas, and breakout zones. For each zone, document tasks, sightlines, and occupancy patterns to guide lighting intensity and distribution.

3. Set Lighting Objectives & Mood

Determine the desired ambience for each zone:

  • Mood lighting, accentuating architectural features or artwork.
  • Ambient lighting, providing uniform background illumination.
  • Task lighting, focused light for detailed activities.
  • Accent lighting, highlighting points of interest or signage.

Align these objectives with the client’s branding, wellness goals, and user experience.

4. Choose Lighting Techniques ie Direct vs. Indirect

Select fixtures and mounting options to balance glare control and visual comfort.

  • Direct lighting, fixtures aiming light straight onto surfaces or tasks.
  • Indirect lighting, uplights or cove fittings that bounce light off ceilings or walls.
  • Semi-direct and semi indirect, combinations that soften shadows and enhance depth.

5. Determine Lux Levels per Zone

Refer to recognised standards for illuminance requirements. Below are recommendations for common commercial areas:

Area

  • Recommended Lux Level
  • Offices (general)- 500 lux
  • Computer workstations- 300–500 lux
  • Drawing boards- 750 lux
  • Small retail outlets- 500 lux
  • Supermarkets- 750 lux
  • Showrooms- 500–750 lux

6. Develop Preliminary Layouts & Luminaire Selection

Create schematic layouts showing fixture types, quantities, and placements.

Factor in beam angles, mounting heights, and mounting distances to achieve uniformity targets and avoid dark spots.

7. Specify Controls & Automation

Integrate dimming systems, occupancy sensors, daylight harvesting controls, and scene presets. Tailor control strategies to user convenience and energy-saving objectives.

8. Simulation & Validation

Use lighting design software to model illuminance, uniformity ratios, and glare indices.

Refine fixture positions and control settings to meet performance targets before issuing final drawings.

9. Detailed Documentation & Specification

Produce

  • Final CAD drawings with fixture schedules and control wiring.
  • Single-line diagrams and control schematics.
  • Product datasheets, mounting details, and accessory lists.
  • Testing protocols and commissioning checklists.

10. Installation & Commissioning

Oversee in-house installation, verify cable routing, fixture alignment, and control wiring.

Conduct on-site tuning and lux measurements, adjust settings for mood scenes, and hand over as-built documentation.